
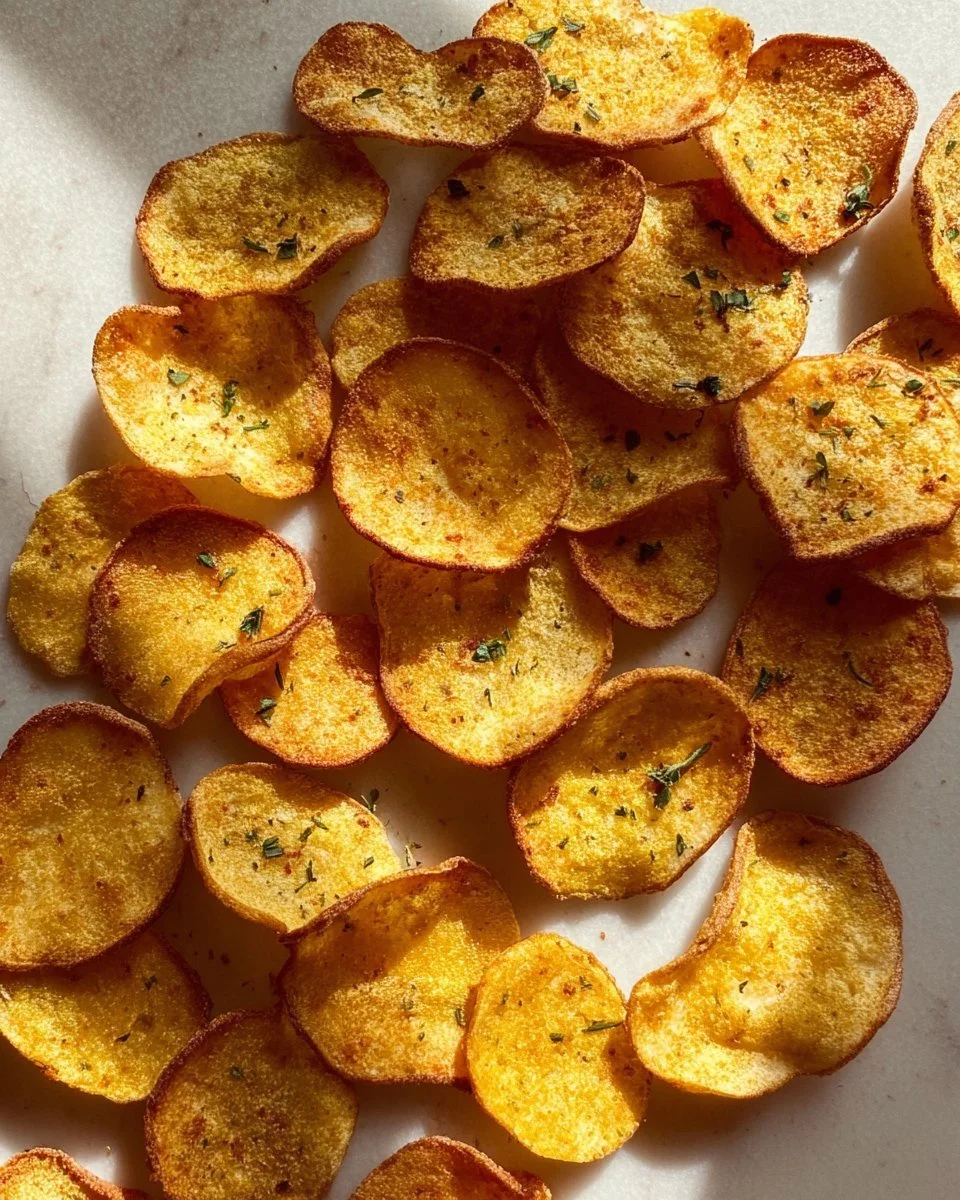
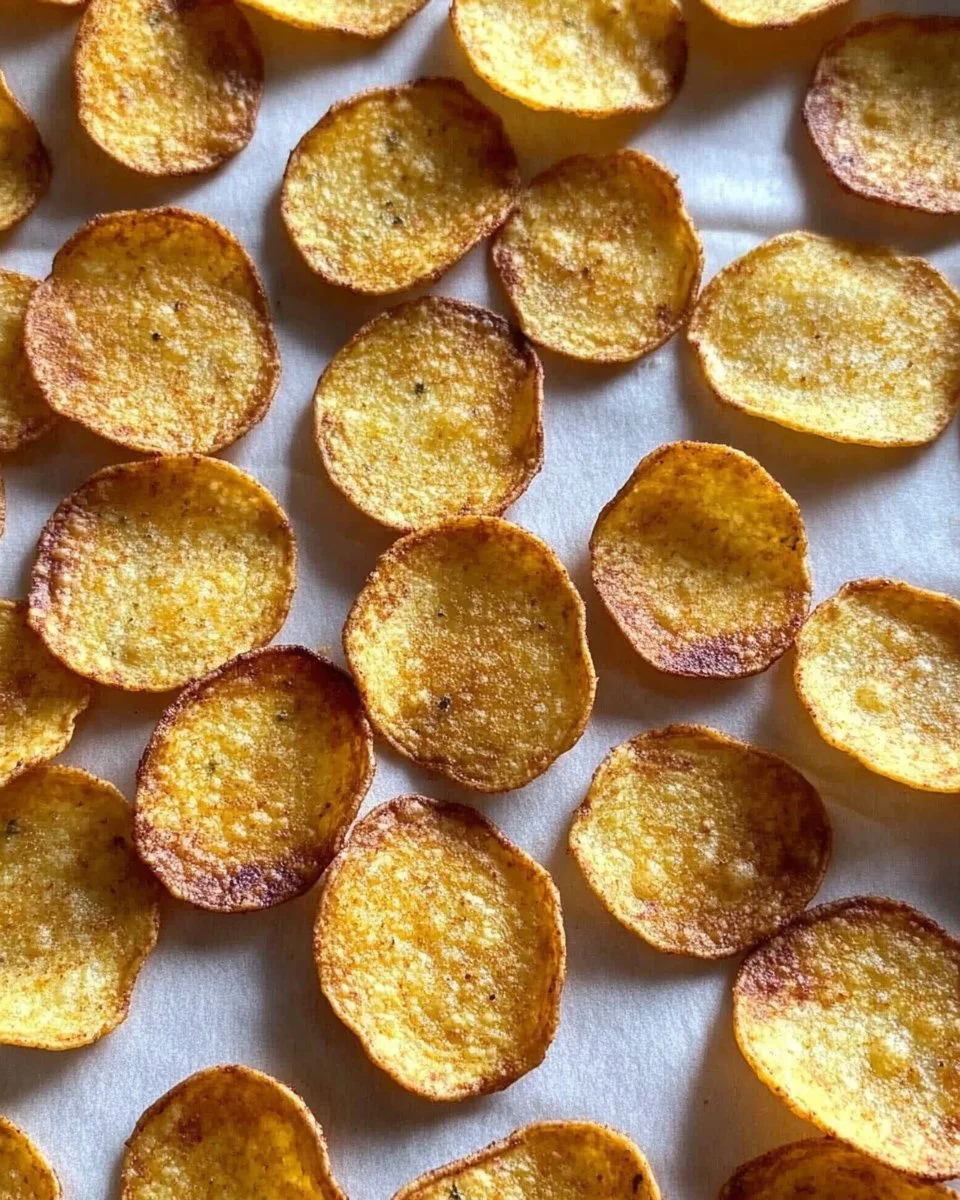
If you’re looking for a healthy and delicious snack, look no further than these Baked Chickpea Chips. This simple recipe allows you to create crispy, flavorful chips that are perfect for dipping or munching on their own. Unlike traditional potato chips, these chickpea chips are packed with nutrients and are a great alternative for those seeking gluten-free or vegan options. With just a handful of ingredients, you can whip up a satisfying snack that everyone will enjoy.
What Makes This Recipe So Good
One of the best things about this recipe is its simplicity. With only four primary ingredients, it’s easy to make, even for novice cooks. The chickpea flour provides a fantastic source of protein and fiber, making these chips a nutritious choice. Not only are they quick to prepare, but they also come together in just about 30 minutes from start to finish. Plus, you have the flexibility to customize the flavor by adding your favorite herbs and spices, making each batch uniquely yours.
How This Recipe Comes Together
The process of making baked chickpea chips is straightforward. You start by mixing together chickpea flour, water, and salt to create a smooth batter. Then, you’ll prepare your baking sheets and spread the batter into thin circles. After a brief baking time, these disks transform into crispy chips that are simply irresistible. Whether you go plain or add your favorite seasonings, you’ll find that this method not only curbs your snack cravings but also satisfies your taste buds.
Ingredients
Prep time: 10 minutes
Cook time: 10 minutes
Total time: 20 minutes
Servings: 2-4
- 80 grams chickpea flour
- 140 grams water
- 1/2 teaspoon salt
- Chopped fresh herbs or dried herbs, or spices
Chickpea flour, the star ingredient here, is made from ground chickpeas and provides a rich, nutty flavor. It’s also a fantastic source of plant-based protein and is gluten-free. The addition of fresh or dried herbs adds a burst of flavor, so feel free to experiment with your favorites!
Step-by-Step Instructions
- Preheat your oven to 200C (400F). This ensures that your chickpea chips bake evenly.
- In a mixing bowl, combine chickpea flour, water, and salt until smooth. Make sure there are no lumps in your mixture for the best texture.
- Line two baking sheets with parchment paper. This prevents the chips from sticking and makes for easy cleanup.
- Spoon batter onto parchment, spreading into thin circles. Aim for even thickness, so the chips bake uniformly.
- If desired, sprinkle chopped herbs or spices on top. This is a great time to get creative with flavors!
- Bake for about 10 minutes until golden brown. Keep an eye on them to avoid burning, as ovens can vary.
- Cool on baking sheets for 15 to 20 minutes, then enjoy plain or with dips. The cooling time will help them crisp up even more!
Creative Ways to Serve Your Chips
These Baked Chickpea Chips are incredibly versatile. You can serve them as a standalone snack, or offer them as part of a healthy appetizer platter. Pair them with your favorite dips like hummus, guacamole, or tzatziki for a delightful flavor combination. For a fun twist, serve them at parties alongside cheese spreads or as a crunchy topping on soups. They’re also a fantastic addition to lunchboxes for both kids and adults.
How to Store and Reheat
To keep your chickpea chips fresh, store them in an airtight container at room temperature. They will stay crispy for about 3 days. If you want to keep them longer, you can also freeze them. Simply place them in a freezer-safe container, and they can last for up to a month. When you’re ready to enjoy them again, reheat them in a preheated oven at 180C (350F) for a few minutes until they’re warm and crispy.
Expert Cooking Tips
To make the best baked chickpea chips, consider these helpful tips:
- Ensure your batter is smooth. Lumps can result in uneven cooking.
- Spread the batter as thinly as possible for crispier chips.
- Experiment with cooking times; if you prefer a crunchier chip, add a minute or two.
- Check in on the last few minutes of baking to prevent burning.
- Feel free to double the recipe if making for a larger gathering!
Common mistakes include over-baking or unevenly spreading the batter, which can lead to some chips being too crispy while others are soft. With practice, you’ll find the perfect balance for your oven.
Delicious Variations to Try
The beauty of this recipe lies in its adaptability. Here are some variations to keep things exciting:
- Add spices like paprika or cayenne pepper to the batter for a kick.
- Incorporate nutritional yeast for a cheesy flavor.
- Swap in spices like garlic powder, onion powder, or cumin for different flavor profiles.
- Try using a mix of herbs, such as rosemary, thyme, or oregano, for a fragrant twist.
- If you’re looking for more decadence, drizzle with olive oil before baking.
These options allow you to create chips that cater to your personal taste, making snack time even more enjoyable!
Frequently Asked Questions
1. Can I make these chips in advance?
Yes, you can make them ahead of time. Store them in an airtight container, and they’ll stay fresh for about three days.
2. What can I use if I don’t have parchment paper?
If you don’t have parchment paper, you can use silicone baking mats or lightly grease your baking sheets.
3. Can I use different types of flour?
While chickpea flour is best for this recipe, you can experiment with other flours like oat flour, but the texture may vary.
4. Are these chips suitable for gluten-free diets?
Yes, as long as you use chickpea flour, these chips are entirely gluten-free.
5. How can I make these chips spicier?
Add more spices like cayenne or chili powder to your batter for an extra kick!